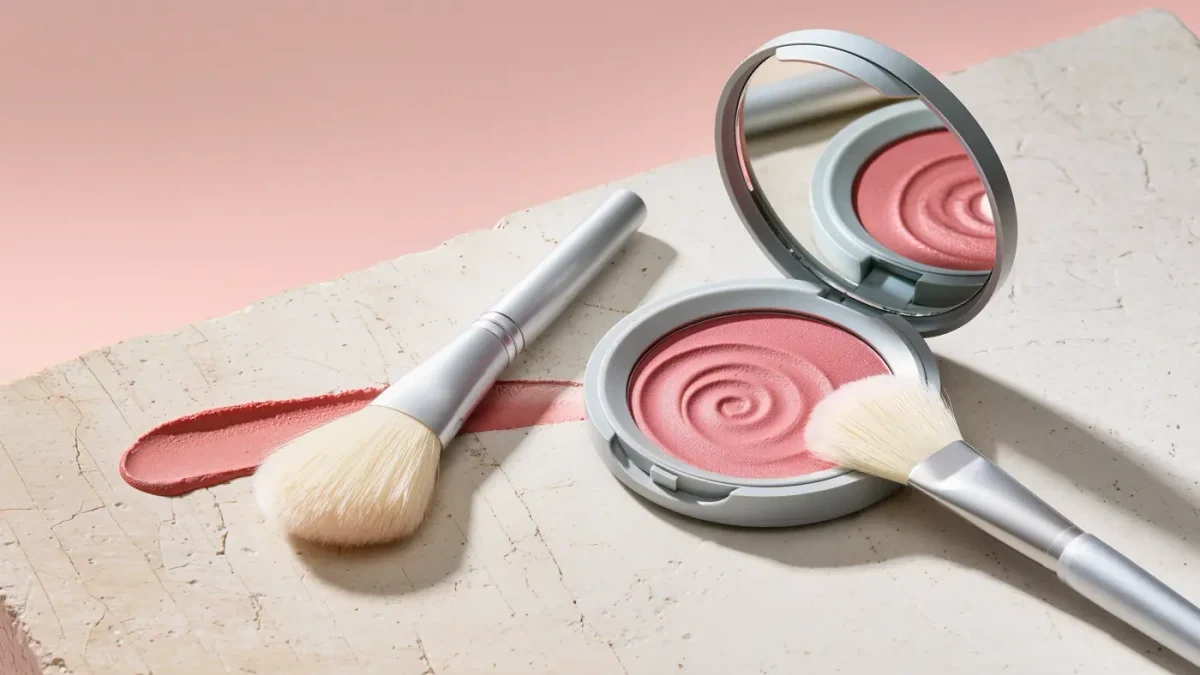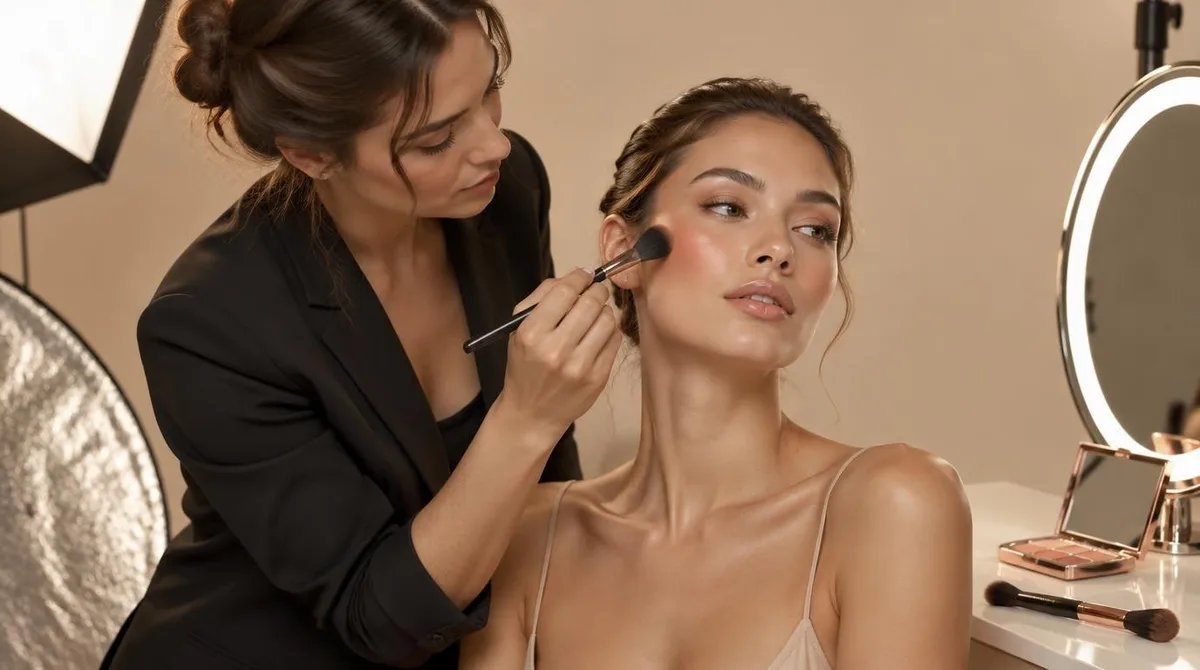
Blush placement follows face shape. Round faces take color above the apples toward the temples, square faces take it on the apples, and oval faces can wear either, per makeup artist Ashlee Glazer in Who What Wear's guide and L'Oréal Paris's face-shape map. The tools matter less than the map. One rule holds everywhere: color rides high enough to lift, never so low it reads as contour.
The logic is geometry. High color lifts a wider face; color on the apples rounds a sharper one. The two guides agree on that core and split on the edges, which is normal in artist guidance. What follows is the shape-by-shape map, the two-finger start, and the blend that finishes the job.
Where Does Blush Go on Each Face Shape?
Both guides sort faces by their widest zone first. Heart-shaped faces are widest around the temples with a narrow jawline, per L'Oréal Paris's guide, while round faces run widest at the cheeks. Then the color lands against that shape:
- Round: skip the apples; lay color along the tops of the cheekbones and blend toward the temple for a more angular, sculpted look, per L'Oréal Paris's guide.
- Square: apples of the cheeks, blended thoroughly, to pull the eye toward the center and balance angular features, per the same guide.
- Oblong: a straight line or slight semicircle, without blending too far in either direction, per the same guide.
- Heart: a "C" shape from the tops of the cheekbones to just above the tail of the brow, which softens angles without rounding the face, per the guide.
- Diamond: color on the tops of the cheekbones, blended outward toward the ears, per the same guide.
Glazer maps the high faces a bit differently. Her line for square, diamond, and heart shapes runs off the outer eye: "Start by using your eye as a guide and place the brush on the cheek in line with the outer eye line, and dust up," she tells Who What Wear. Different artists, same instinct: against a sharp face, place high.
The low border matters as much as the map. Blush set under the cheekbone lands where contour belongs, and the guide's warning is blunt: the result can read as windburn instead of a glow.
What Is the Two-Finger Blush Rule?
It is Glazer's universal starting line: "Place the two forefingers on the side of the nose and sweep up and out from the outside finger," per her Who What Wear interview. Treat it as a starting point, not a law. On a round face the line rises above the apples; on a square one it stays low and centered. The rule sets the point, and the shape sets the direction.
Should the Formula Match Your Skin?
Texture decides more than trend does. Makeup artist Lisa Aharon, whose clients include Rachel Brosnahan and Anna Kendrick, reaches for powder when skin has texture, because a cream formula can spotlight spots and scars, per Who What Wear. Glazer runs the other way on dry skin: she favors blush sticks and liquid blushes, worn beyond the cheeks. The placement map does not change with the formula. Only the blend does. Readers following this should also see Cream vs Powder Blush: Which Formula Works for Your Skin Type?.
How Do You Blend Blush So It Looks Natural?
"You can use your fingers (make sure they're clean), a sponge, or a brush, depending on your comfort level and the type of blush you're using," Aharon tells Who What Wear. Her method is pressure, not paint: tap or press the color in so it deposits evenly. Glazer's finish is brushwork: "end all your brushstrokes with wisps of the skin so you don't end up with hard lines." A flush with no visible border is the point. This connects to our earlier piece, How to Apply Cream Blush So It Lasts All Day, According to Makeup Artists.
Conclusion: Where Should the First Swipe Land?
Start at the shape. Round lifts above the apples, square sits on them, heart draws its "C," diamond heads for the ears, and oval picks a lane. The two-finger line sets the start, the formula follows the skin, and the blend erases the map's edges. Placement costs nothing extra; the brush simply has to land where the geometry says.